Valley Flashing: The Key to Waterproof Roofs
When it comes to protecting our homes from the elements, a waterproof roof is of paramount importance. One critical element in achieving this protection is valley flashing. While often overlooked, valley flashing plays a vital role in preventing water intrusion, ensuring the longevity and durability of our roofs. In this article, we will explore the significance of valley flashing, its purpose, installation techniques, and why it is a key component for maintaining a watertight roof.
What is Valley Flashing?
Valley flashing refers to the metal or other impervious material installed in the valleys where two sloping roof sections meet. These valleys are the low points on a roof, where rainwater and other debris tend to accumulate. Without proper protection, these areas become vulnerable to water penetration, leading to leaks, moisture damage, and potential structural issues. Valley flashing acts as a barrier, redirecting water away from the vulnerable areas and preventing it from seeping into the roof system.
The Purpose of Valley Flashing
The primary purpose of valley flashing is to channel water safely away from the roof’s valleys, preventing it from infiltrating the structure. By directing the flow of water towards the roof’s gutters or downspouts, valley flashing helps maintain a dry and watertight roof system. This is particularly crucial in regions prone to heavy rainfall or snowfall, as water accumulation in valleys can pose a significant risk.
Additionally, valley flashing also serves as a protective barrier against debris, such as leaves, branches, or ice dams. These obstructions can hinder water flow and increase the likelihood of leaks. The presence of valley flashing minimizes the chances of debris getting trapped in the valleys, reducing the potential for damage and maintaining proper drainage.
Types of Valley Flashing Materials
Various materials are commonly used for valley flashing, each with its advantages and suitability based on the roof’s characteristics and environmental factors. The most common types include:
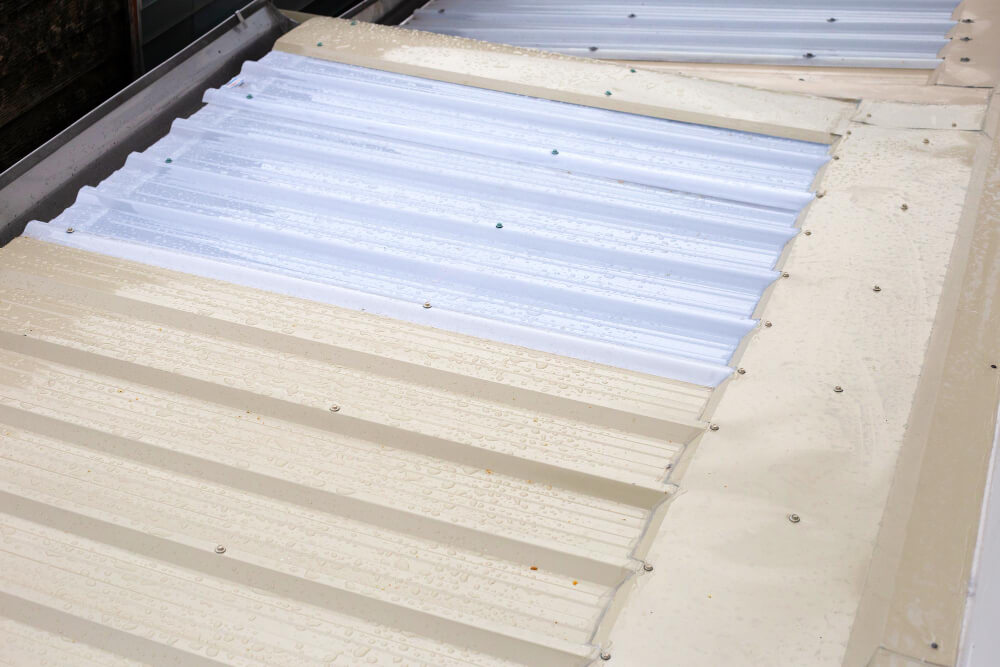
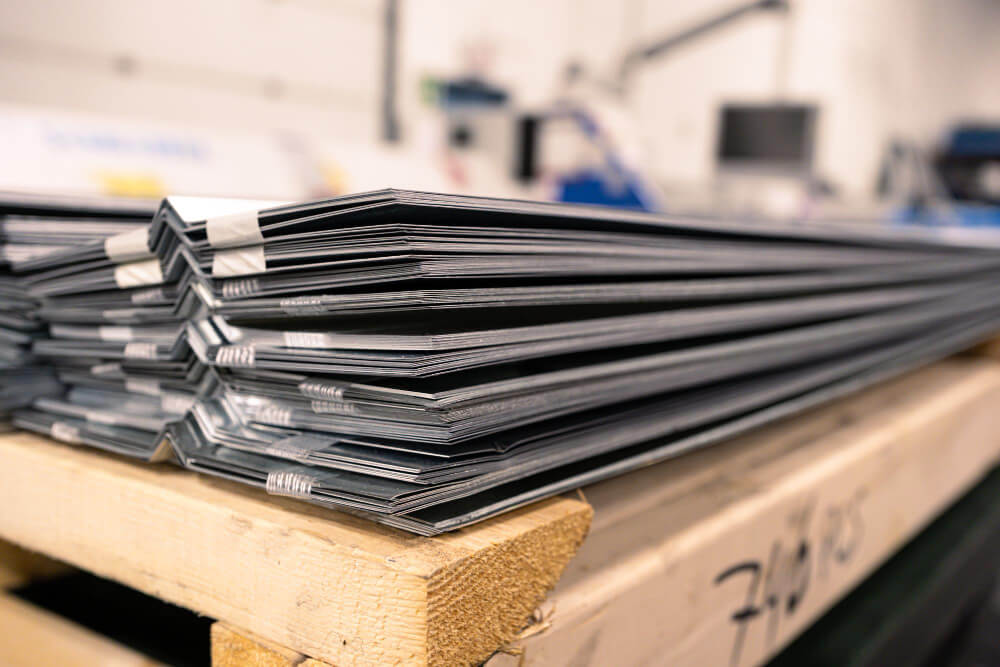
Metal Flashing
Metal flashing, such as aluminum or galvanized steel, is a popular choice due to its durability and longevity. It provides excellent resistance against corrosion and can withstand extreme weather conditions. Metal flashing is often pre-formed in a V-shape, which allows it to fit snugly into the valleys, effectively guiding water away from vulnerable areas.
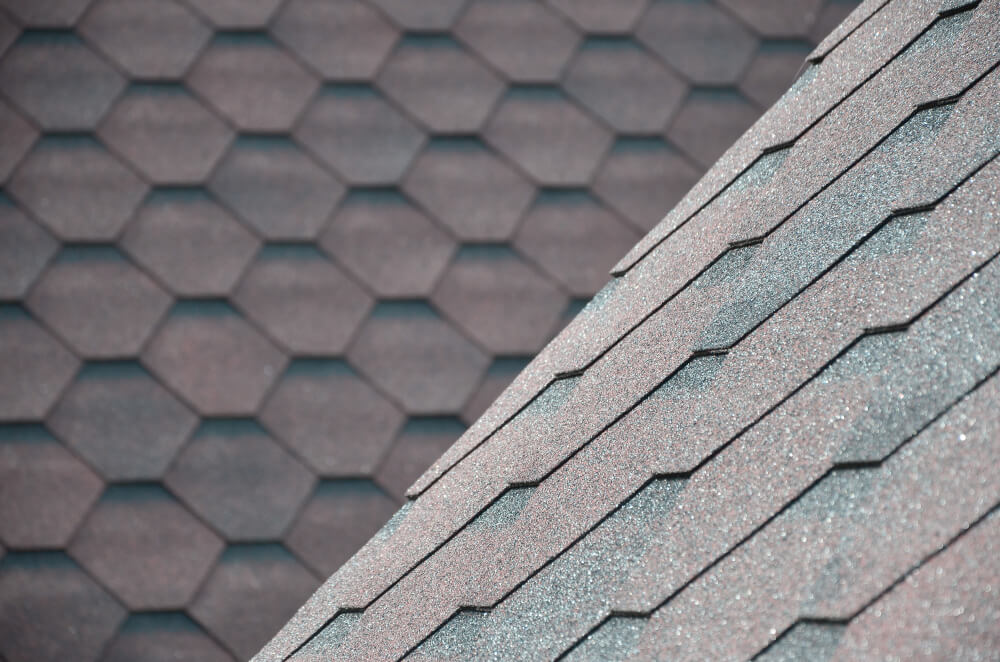
Asphalt Shingles
Some roofers opt to use asphalt shingles as valley flashing material. While not as durable as metal, asphalt shingles offer a more cost-effective solution. They can be cut and shaped to fit the valleys, providing an additional layer of protection against water intrusion. However, asphalt shingles may require more frequent maintenance and replacement compared to metal flashing.
Rubber Membrane
Rubber membranes, such as ethylene propylene diene monomer (EPDM), are commonly used in flat or low-slope roofs. They offer excellent flexibility and waterproofing properties, making them suitable for valley flashing applications. Rubber membranes are often installed in combination with metal flashing to provide enhanced protection against leaks.
Synthetic Materials
In recent years, synthetic materials like PVC or TPO (thermoplastic olefin) have gained popularity in valley flashing installations. These materials are lightweight, resistant to weathering, and have a longer lifespan compared to some traditional options. They can be custom-fabricated to fit the specific dimensions of the valleys, ensuring a precise and effective seal.
Installation Techniques
To ensure the optimal performance of valley flashing, proper installation is crucial. Here are some essential guidelines professionals follow during the installation process:
Step 1: Prepare the Roof Surface
Before installing the valley flashing, the roof surface must be clean and free of any debris or loose materials. This includes removing old flashing, nails, and excess roofing materials.
Step 2: Choose the Right Material and Shape
Select the appropriate valley flashing material based on the roof type, climate conditions, and personal preferences. Ensure the flashing is pre-formed or cut to the correct shape, allowing it to fit securely into the valleys.
Step 3: Apply Underlayment
Install a layer of waterproof underlayment, such as roofing felt or synthetic membranes, along the valleys. This provides an additional barrier against water penetration and protects the roof deck.
Step 4: Secure the Valley Flashing
Carefully position the valley flashing along the valleys, ensuring it overlaps the adjacent roofing materials. Fasten the flashing securely using roofing nails or screws, following the manufacturer’s guidelines and local building codes.
Step 5: Seal the Edges
Apply a suitable roofing sealant or adhesive along the edges of the flashing to create a watertight seal. This prevents water from seeping underneath the flashing and causing leaks.
Step 6: Test for Adequate Drainage
Once the installation is complete, it is crucial to verify that water flows smoothly and efficiently down the valleys. Perform a thorough inspection, checking for any signs of blockage or inadequate drainage. Address any issues promptly to ensure optimal performance.
Benefits of Proper Valley Flashing
Investing in proper valley flashing offers numerous benefits for homeowners. Some of the key advantages include:
Enhanced Waterproofing
Valley flashing acts as a robust barrier against water infiltration, minimizing the risk of leaks and moisture damage. By ensuring proper drainage, it helps maintain a dry and watertight roof system, extending its lifespan.
Prevents Structural Damage
Water intrusion in valleys can lead to significant structural damage over time. By redirecting water away from these vulnerable areas, valley flashing safeguards the roof’s integrity and prevents costly repairs or replacements.
Improves Energy Efficiency
A properly sealed roof with efficient valley flashing reduces air leakage, improving the overall energy efficiency of the home. This translates to lower heating and cooling costs and a more comfortable living environment.
Protects Against Debris
Valley flashing creates a barrier that prevents debris, such as leaves, twigs, or ice dams, from accumulating in the valleys. By keeping the valleys clear, it maintains proper water flow and minimizes the risk of blockage or damage.
Enhances Curb Appeal
Well-installed and visually appealing valley flashing can enhance the curb appeal of a home. It adds a finishing touch to the roofline and complements the overall aesthetic appeal of the property.
Valley flashing may seem like a minor detail, but it plays a crucial role in ensuring the waterproofing and longevity of our roofs. By redirecting water away from the vulnerable valleys, valley flashing protects our homes from leaks, structural damage, and costly repairs.
